You can set up Olark with the most popular blogging platform in the world. Add Olark to your WordPress site by following the steps listed below.
Free WordPress.com accounts may need to upgrade to a paid plan before installing Olark on their page.
Plugin Install
- Sign in to your WordPress admin panel.
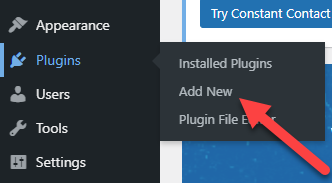
- Using the left-side menu in WordPress navigate to Plugins and select Add New.
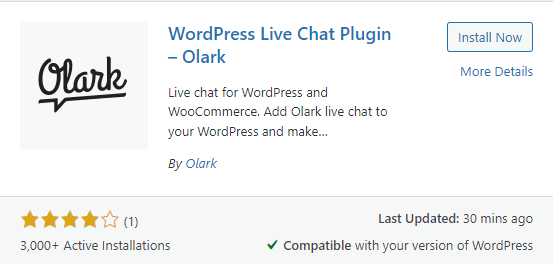
- Search for Olark Live Chat.
- Select Install Now on the Olark Live Chat plugin by Olark.
- Activate the plugin.
- Navigate to Plugins in the left-side menu and select Installed Plugins. Once you are on the Plugins page, select the Settings link for the Olark Plugin.
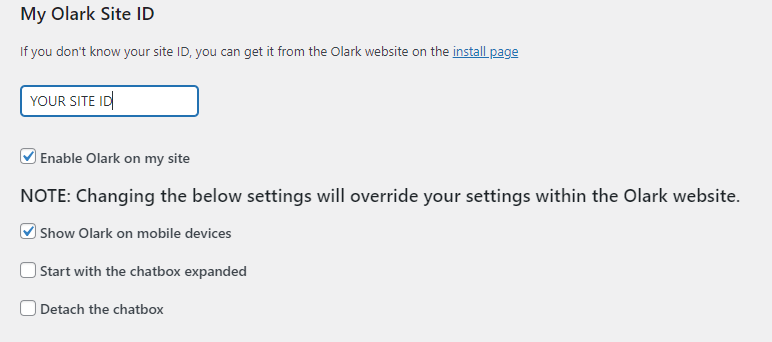
- Add your Site ID (found in your Olark account under Settings > Chat Widget) and enable the chatbox. You can also select additional setting options based on your preferences.
- Press the Save Settings button. You are all now set with installing Olark on your website using the WordPress Plugin!
Note: If the chatbox does not appear immediately, try refreshing your website.
Tips
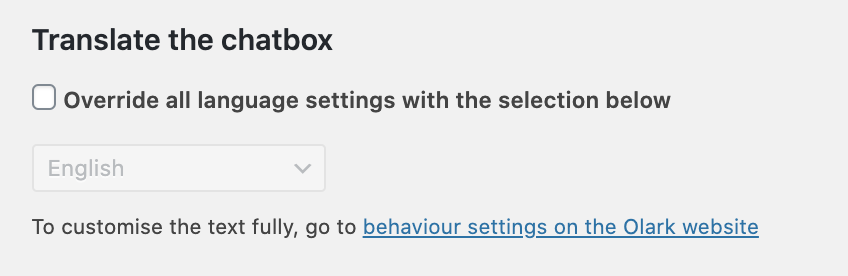
- This plugin lets you change the language of the chatbox within the settings. If you use this plugin option, it will override any text you set in the Olark settings pages.
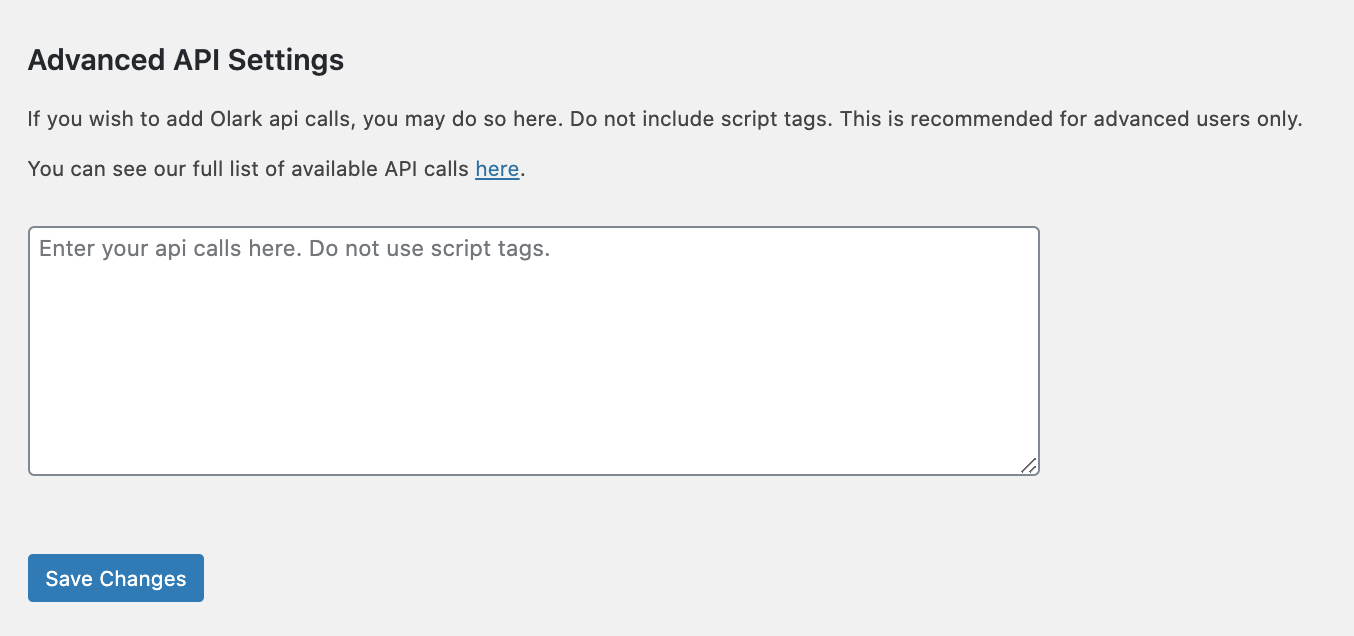
- You can also add API calls within the plugin under the Advanced API Settings section.